Want to start a blog today? Here’s a simple 7-step guide to go from domain to first blog post in under 60 minutes, no tech experience required. The easiest guide to follow on how to start a blog.
How to Start a Blog (and Actually Hit Publish in 60 Minutes)
So here’s the truth: starting a blog can feel weirdly overwhelming for something that’s supposed to be fun. You get this spark of excitement, maybe it’s a blog idea you can’t stop thinking about, a vision board moment, or even just a fresh Notes app doc titled “Blog Stuff.” But then? You hit a wall.
Second-guessing your name. Tinkering with logos, fonts, and taglines. You spend hours scrolling Pinterest for the perfect blog aesthetic… and you never actually publish anything.
Sound familiar?
We’ve both been there. More times than we’d like to admit.
That’s why we created this. A fast, no-fluff, step-by-step process to help you stop spiraling and start blogging. You don’t need a five-year plan or perfect branding. You just need to begin.
Watch the Full Video: Here’s the full walkthrough where we go through everything, step-by-step.
How to Start a Blog in 7 Steps
If you’re the kind of person who likes to skim, the full 7-step guide is below. But if you need that friendly push, the one that says “yes, you can actually do this”, start with the video and follow along with us. It’s like having a blogging buddy talk you through it, minus the group chat distractions. Go step by step. Listen, pause, take action, next step.
Let’s get into it.
Step 1: Buy Your Domain (5 minutes)
Let’s start with the blog name, because it’s where most people get stuck. We’ve seen way too many aspiring bloggers delay launching for months just because they couldn’t decide on a name. Don’t let that be you.
Here’s what matters: choose something that feels true to you and gives you room to grow. It doesn’t have to be clever or trendy, and it definitely doesn’t need to include keywords (that advice is long outdated). Your domain name doesn’t make or break your blog, your content will do that.
A few tips to help:
- You can use your name, a nickname, or a version of it (and no, it doesn’t have to be your full legal name)
- Add a simple word that reflects your niche or tone: think Suzy Bakes, Suzy Reads, Suzy Journals
- .com is great, but not a deal-breaker: .co, .blog, and other extensions are widely accepted now
- Keep it short, clear, and easy to remember or spell
While you can change your name and domain later, it’s a lot more work than tweaking your fonts or theme. So take a moment here to make a thoughtful decision, but don’t overthink it.
Once you’ve landed on something, head to Namecheap or GoDaddy, search for your domain, and buy it. That’s your first big step.
Step 2: Set Up Hosting + Install WordPress (10 minutes)
This part sounds more intimidating than it is, we promise.
Your host is what makes your blog live on the internet. We recommend SiteGround if you want something beginner-friendly and affordable. If you’re thinking long-term and want to skip the hassle of switching later, BigScoots is rock solid.
They both offer one-click WordPress installs, which means by the time you finish your coffee (yes, you can go make one now), your site will be ready to customize.
Step 3: Install the Kadence Theme (5 minutes)
The first thing you’ll do is install a theme. We recommend Kadence. From your WordPress dashboard, click Appearance > Themes > Add New, search for Kadence, and hit install, then activate.
Why Kadence? Because it’s fast, free, clean, and won’t break your site or slow it down. We’ve used a lot of themes over the years, and this is the one we always come back to. We’ll go more in depth on why this one is our current choice at a later date.
Step 4: Choose and Install a Starter Template (5 minutes)
This is where your blog starts to look like your blog. Kadence offers free starter templates that already look polished, so you can pick one of those that matches your vibe and click “Import.”
If you want something with more personality or branding built-in, check out Heartenmade templates. But don’t get caught in the design trap here. You’re not designing your forever blog. You’re just getting it out into the world.
Step 5: Delete the Clutter (5 minutes)
Templates come with extra pages you don’t need. Let’s clean it up.
Go to Pages and delete everything except:
- Home
- Blog
- About
That’s your core setup. We’ll build from there as needed.
Then, you’ll need to tell WordPress which page is your homepage (the one people land on when they type your domain) and which one should display your blog posts feed.
Here’s how:
- Go to Appearance > Customize
- Click on Homepage Settings
- Under “Your homepage displays,” select A static page
- For Homepage, choose Home
- For Posts page, choose Blog
Click Publish and that’s it! Your site now knows where to send people and where to put your posts.
Step 6: Customize the Basics (10 minutes)
This is the step where most people fall into the font-and-color vortex. We’re not doing that today.
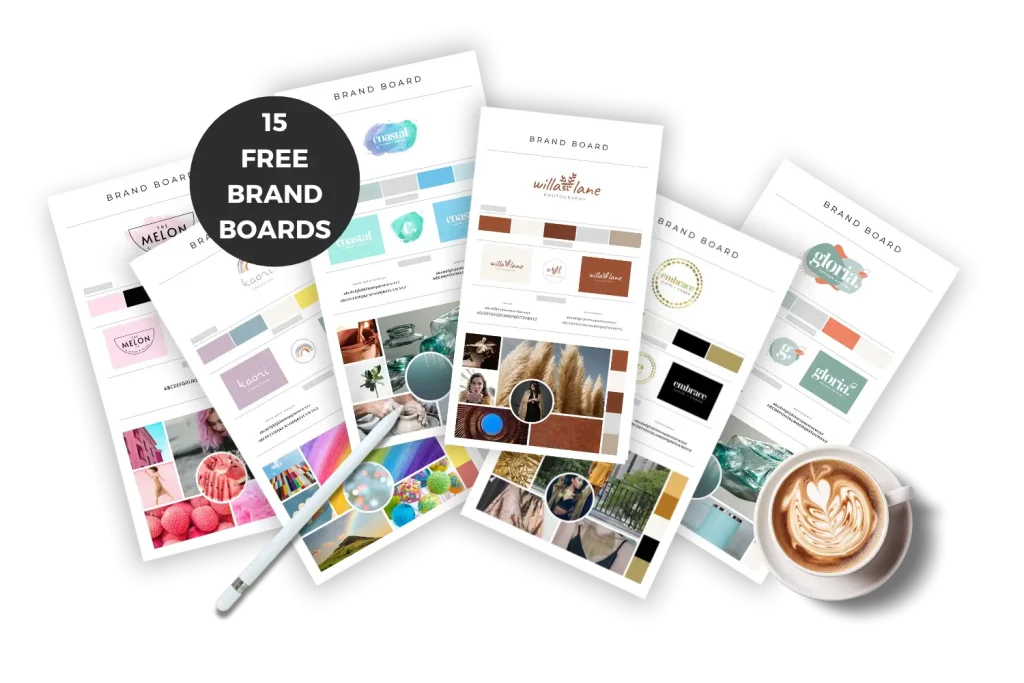
If you want quick momentum, use one of our free 15 brand board templates. They come with pre-paired fonts, color palettes, and logo ideas. Swap in your blog name and go.
Then head to your WordPress dashboard:
- Go to Appearance > Customize
- Click Site Identity to update your site title and upload your logo
- Go back and click on Colors & Fonts > Colors to change your site-wide color palette
- Go back and select Colors & Fonts > Typography to choose your font styles
- Don’t forget to update button colors too (you’ll find this under Colors & Fonts > Buttons)
Once it looks good enough to launch, click Publish and then step away from the customizer. You can always tweak things later.
Click publish. Walk away from the design tab. You did it.
Step 7: Write and Publish Your First Blog Post (20 minutes)
This is where the magic happens. Your first post doesn’t need to be keyword-optimized, strategic, or perfect. In fact, the goal here is to simply start, to tell your story and share your “why.”
You’re writing a post that introduces your connection to the topic you’ll be blogging about. Think of it as a friendly hello to future readers.
Here are some ideas to get you going:
- Starting a fashion blog? Write about the first time you fell in love with style. Maybe it was a thrift store score, a childhood obsession with your mom’s heels, or the outfit that made you feel like you for the first time.
- Blogging about baking? Share your first baking memory even if it was a total disaster. In fact, even better! That kind of honesty is what makes people stick around.
- Creating a crochet blog? Tell us who taught you, or how you discovered your talent for patterns.
- Journaling, fitness, books, travel it all works. Just anchor it in your real story.
Then follow this simple structure:
- A one-sentence hook (start with a moment or bold thought)
- Around 500 words
- Share why this topic matters to you
- Include one small tip or insight your reader can take with them
- Add an original photo. This can be your workspace, supplies, a coffee mug, anything personal that relates to what you’re talking about.
Don’t use stock photos. Grab your phone and snap something that feels real. That’s what will connect.
Now hit publish. Seriously. Even if it feels scary. That button is where your blog actually begins.
The Goal Isn’t Perfection. It’s Progress
We didn’t create this guide so you’d build the fanciest blog. We created it so you’d actually start.
Because the truth is: your blog will change. Your brand will evolve. You’ll switch themes. Your colors will shift. You’ll add pages and plugins. But what won’t change is this moment, where you stopped spiraling and started creating.
So go pour yourself a little celebration drink. You’re officially a blogger.
Coming Up Next…
In our next video we’re sharing the 10 mistakes we made but also the ones bloggers are still making. Spoiler: obsessing over aesthetics is one of them. And if you’re already spiraling about logos or your site’s “vibe,” hang tight, we’ve got a post just for that too. Ready to finally stop guessing and start growing? Join the list » and don’t miss any tips.
You may also be interested in:
- Is blogging still worth it in 2025?
- Blogging schedule for beginners in 2025
- How to navigate imposter syndrome for bloggers
- More blogging tips and advice
